Dr. Christopher Ramsey
Case Study #1
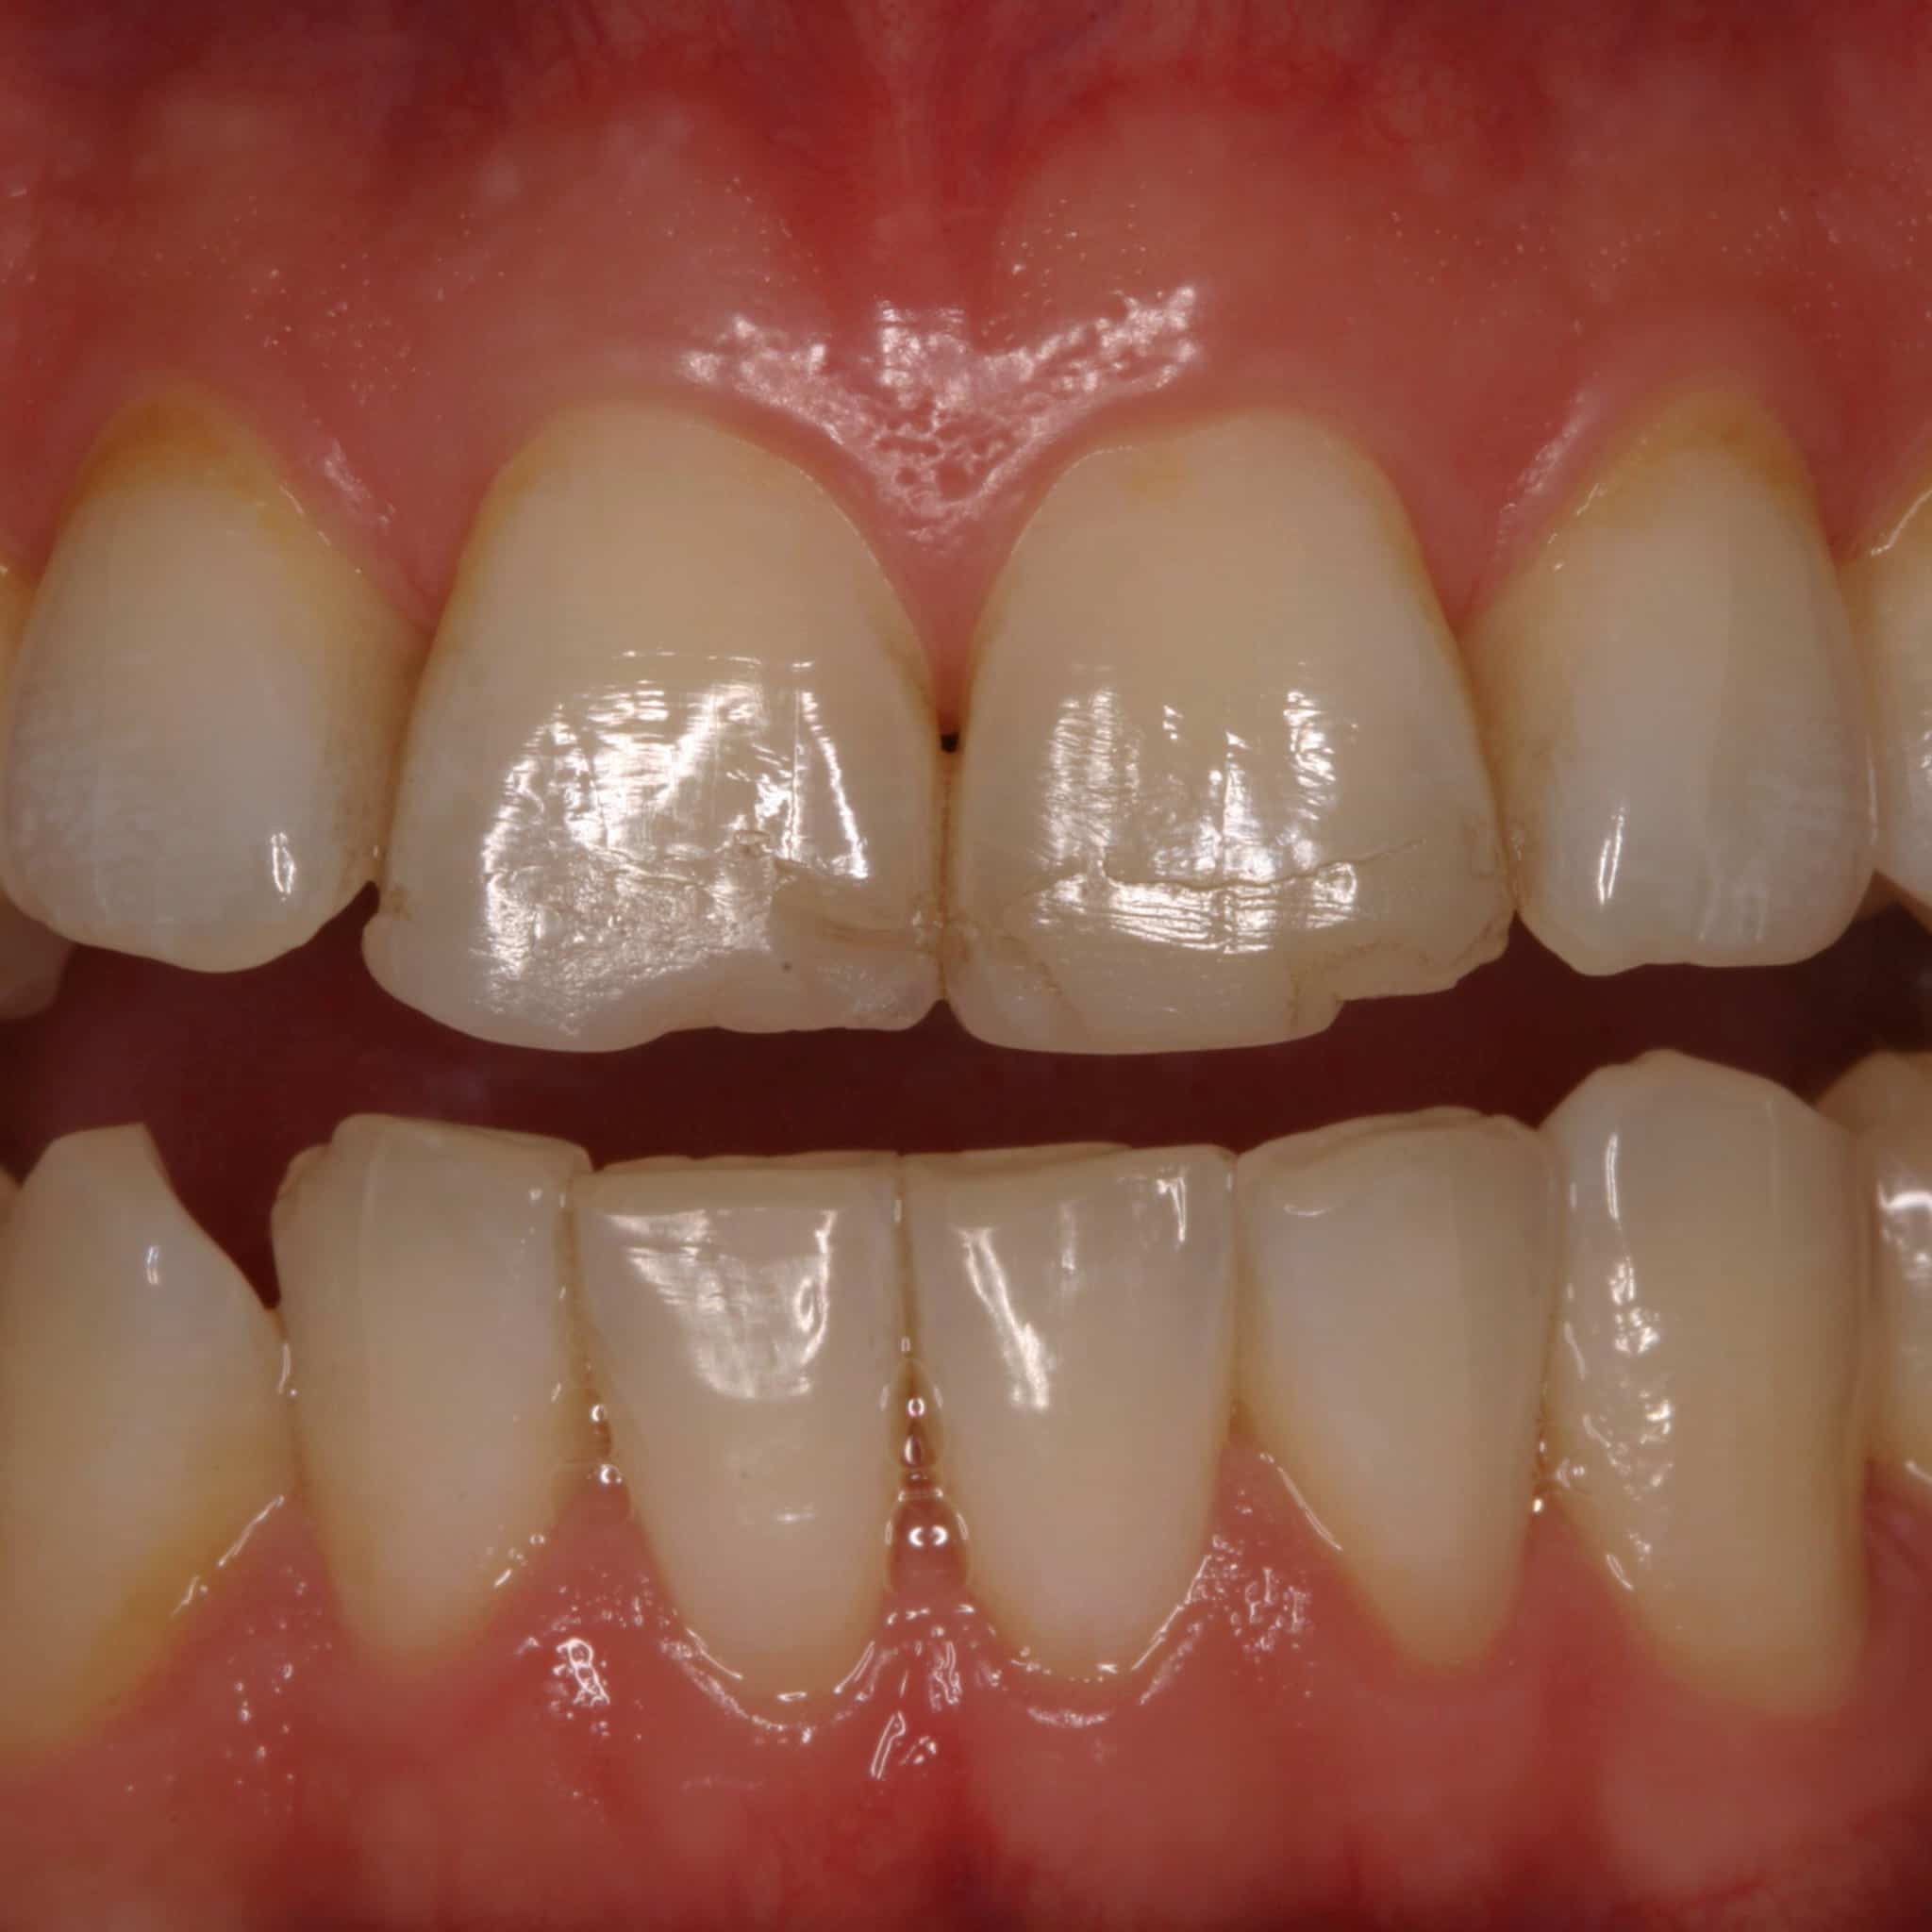
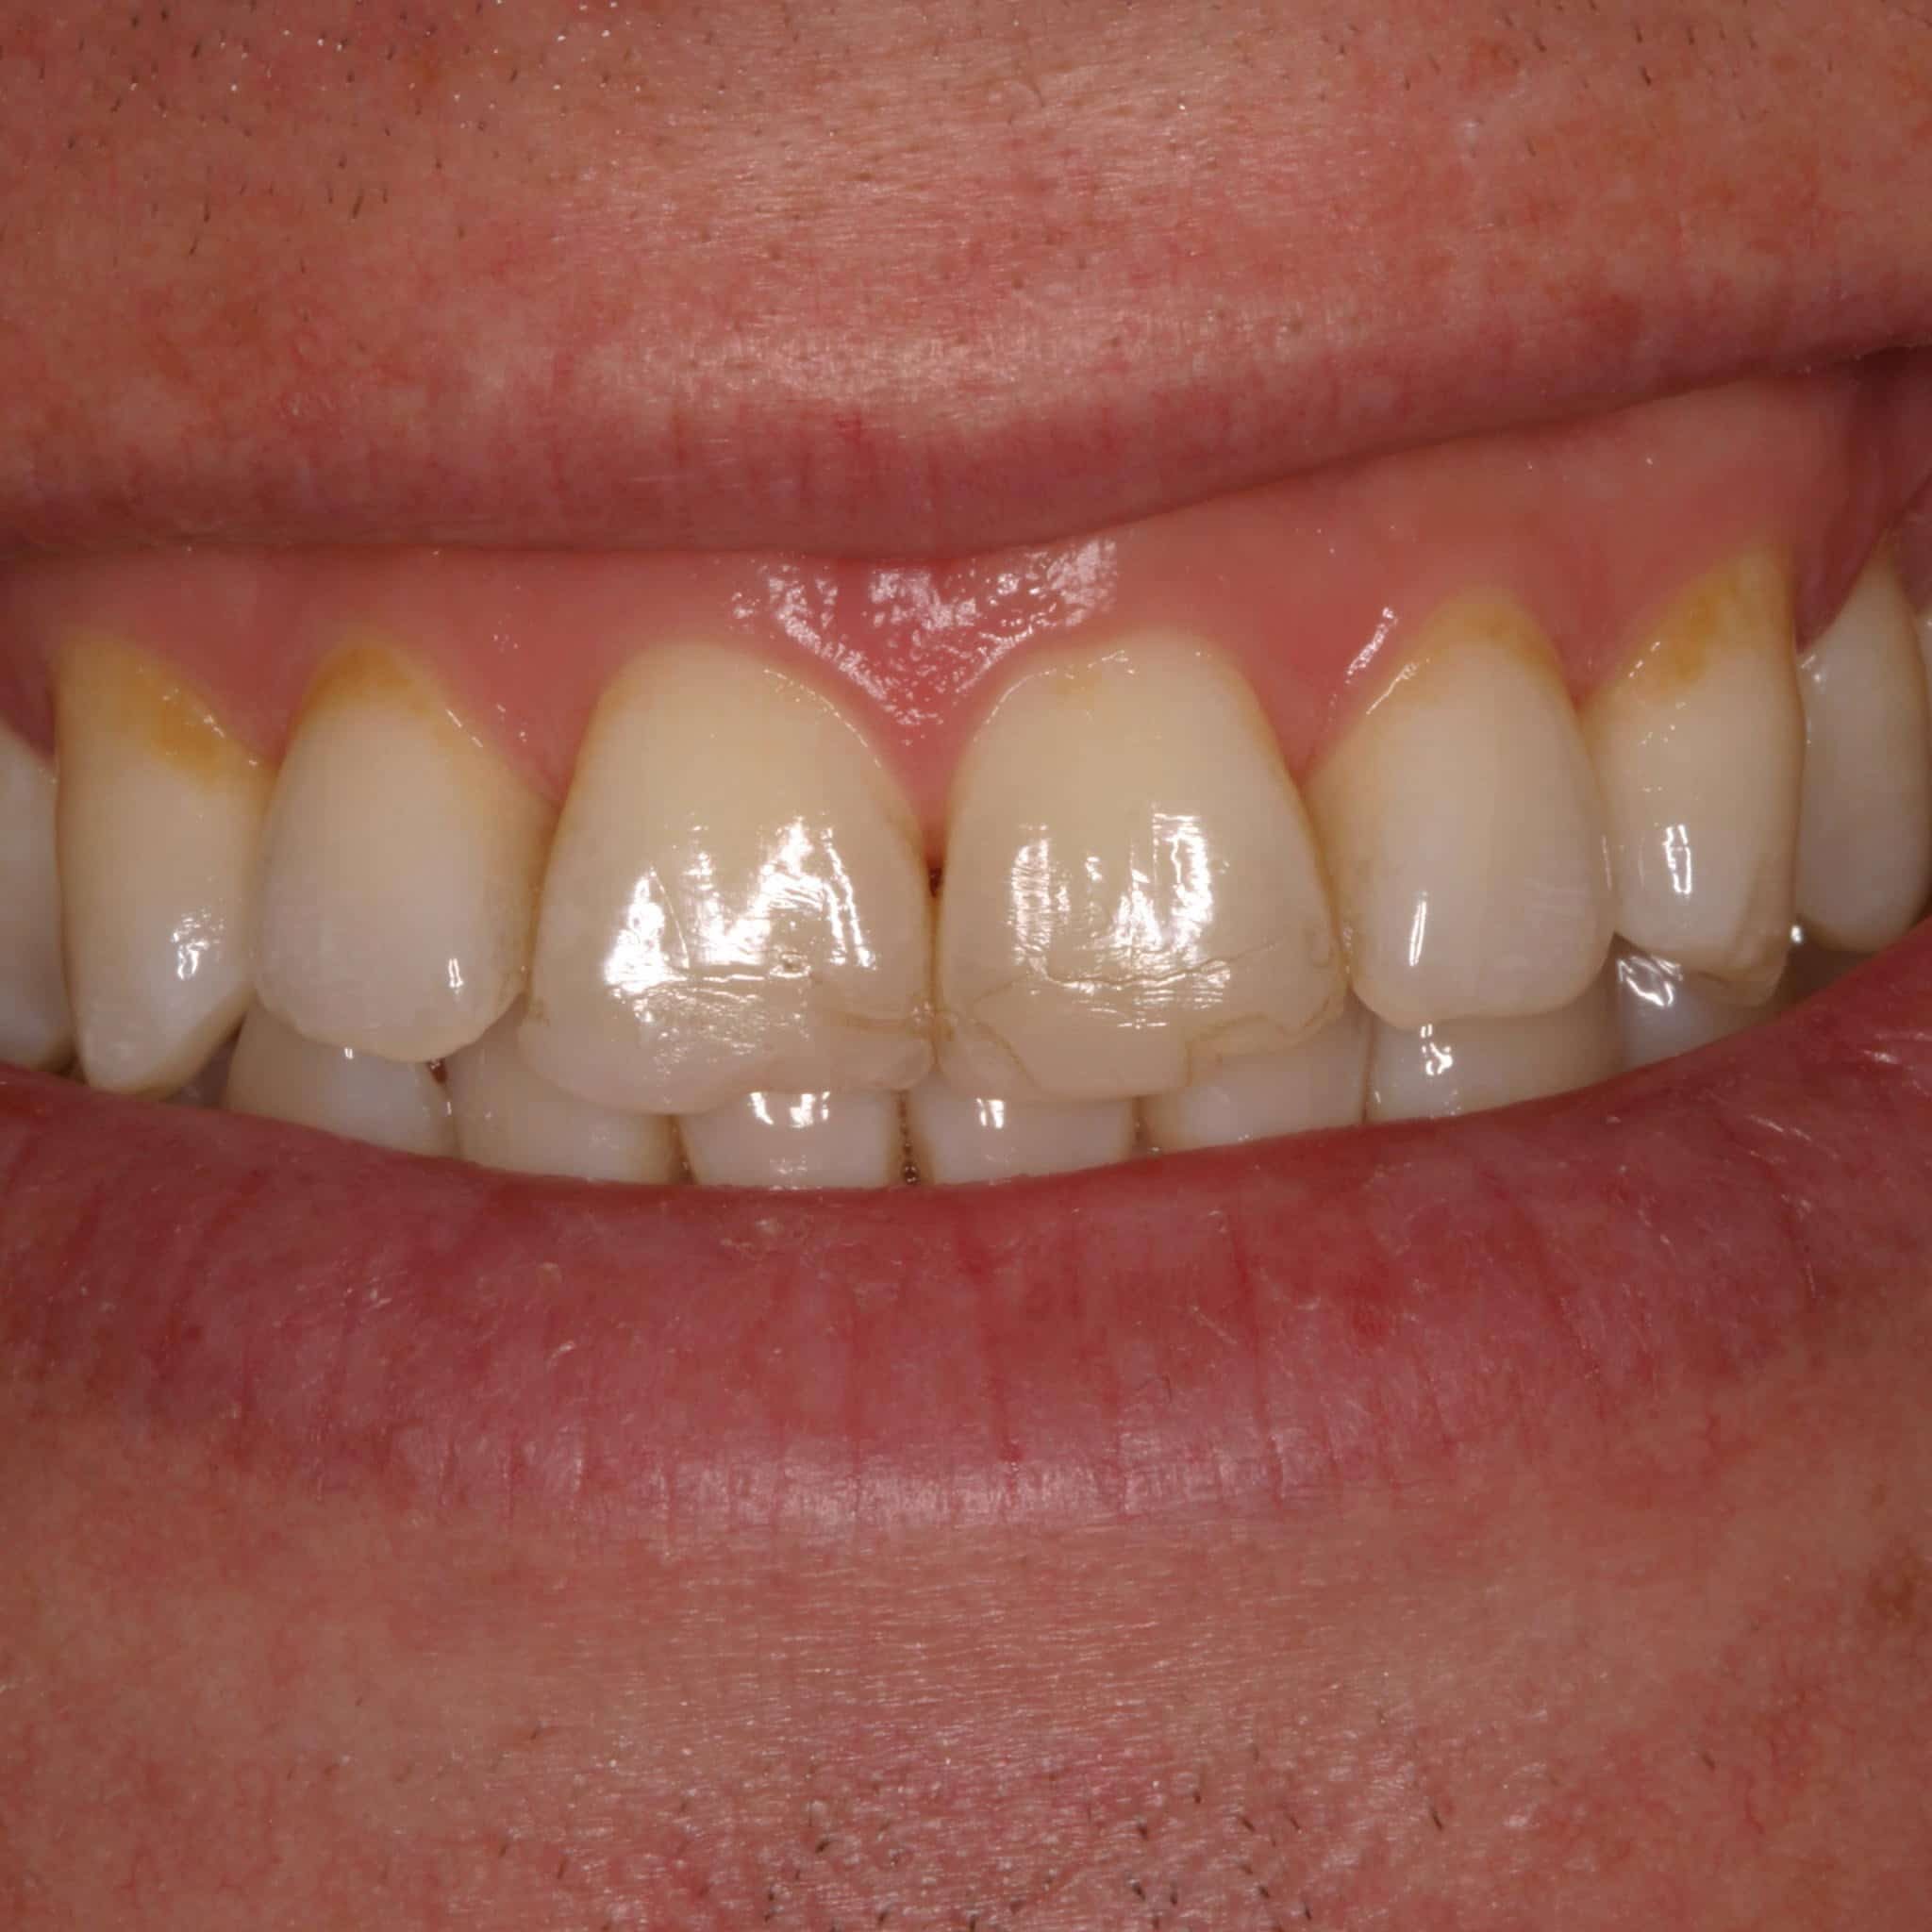
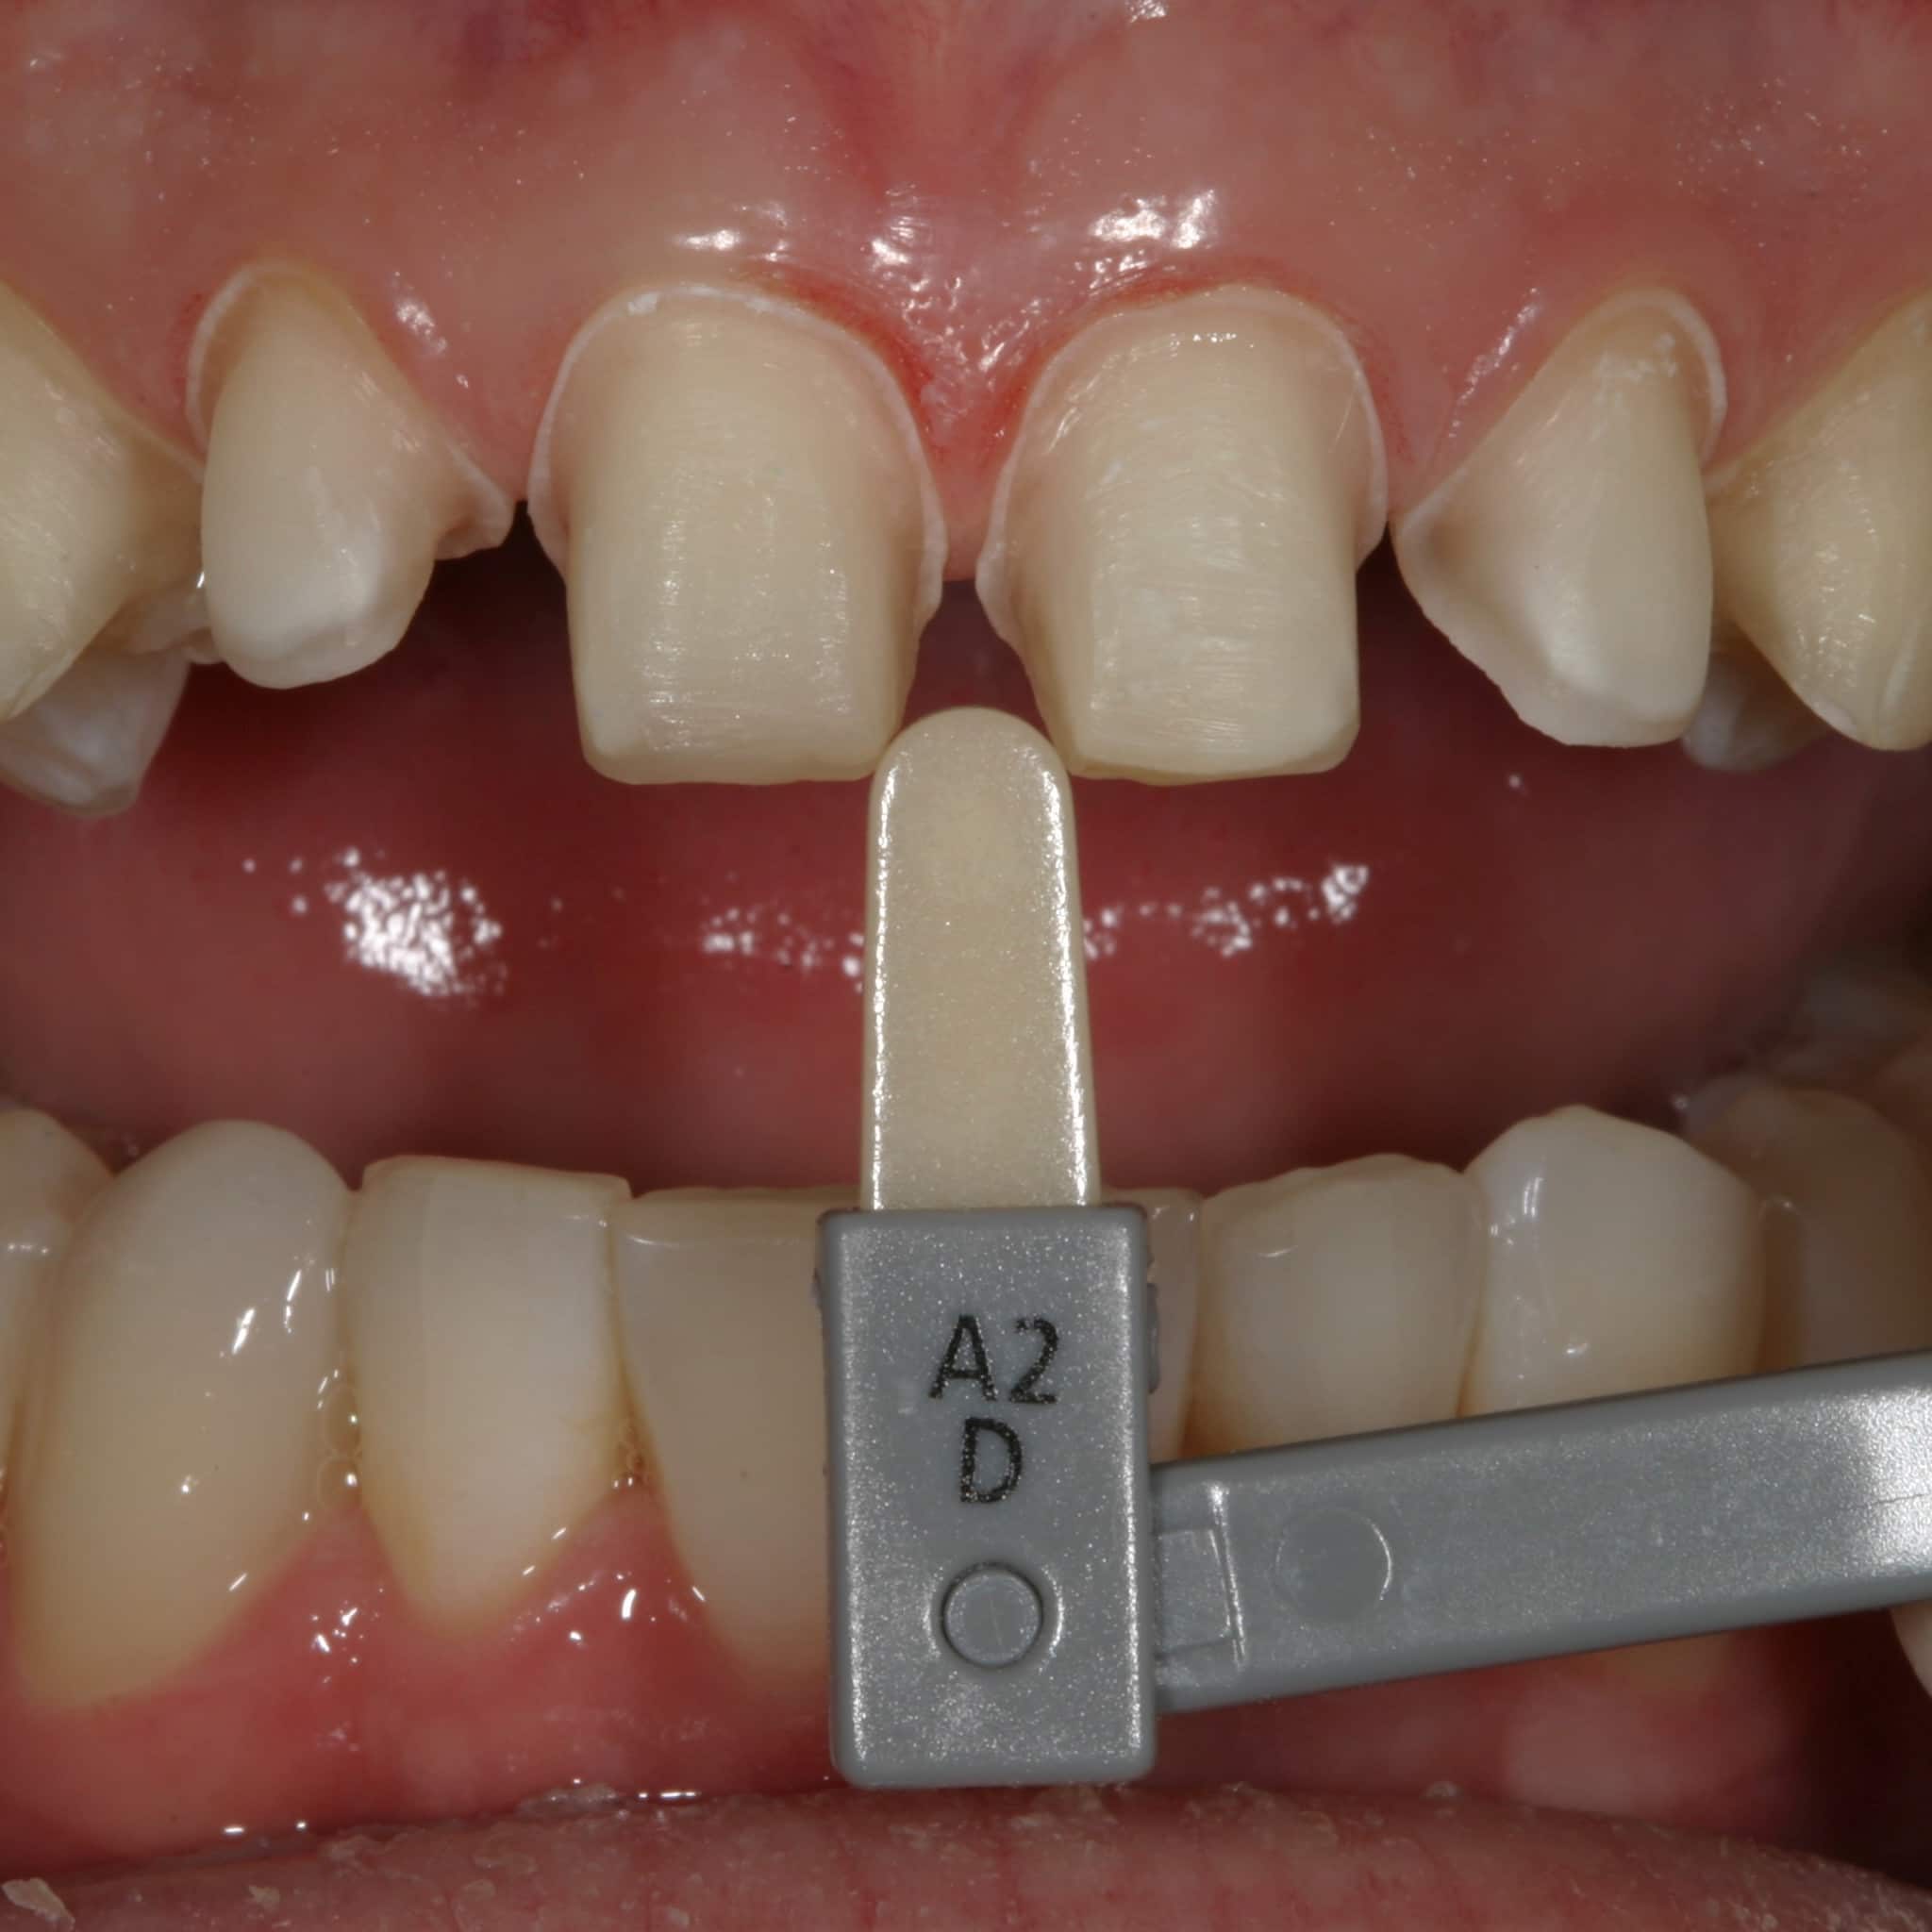
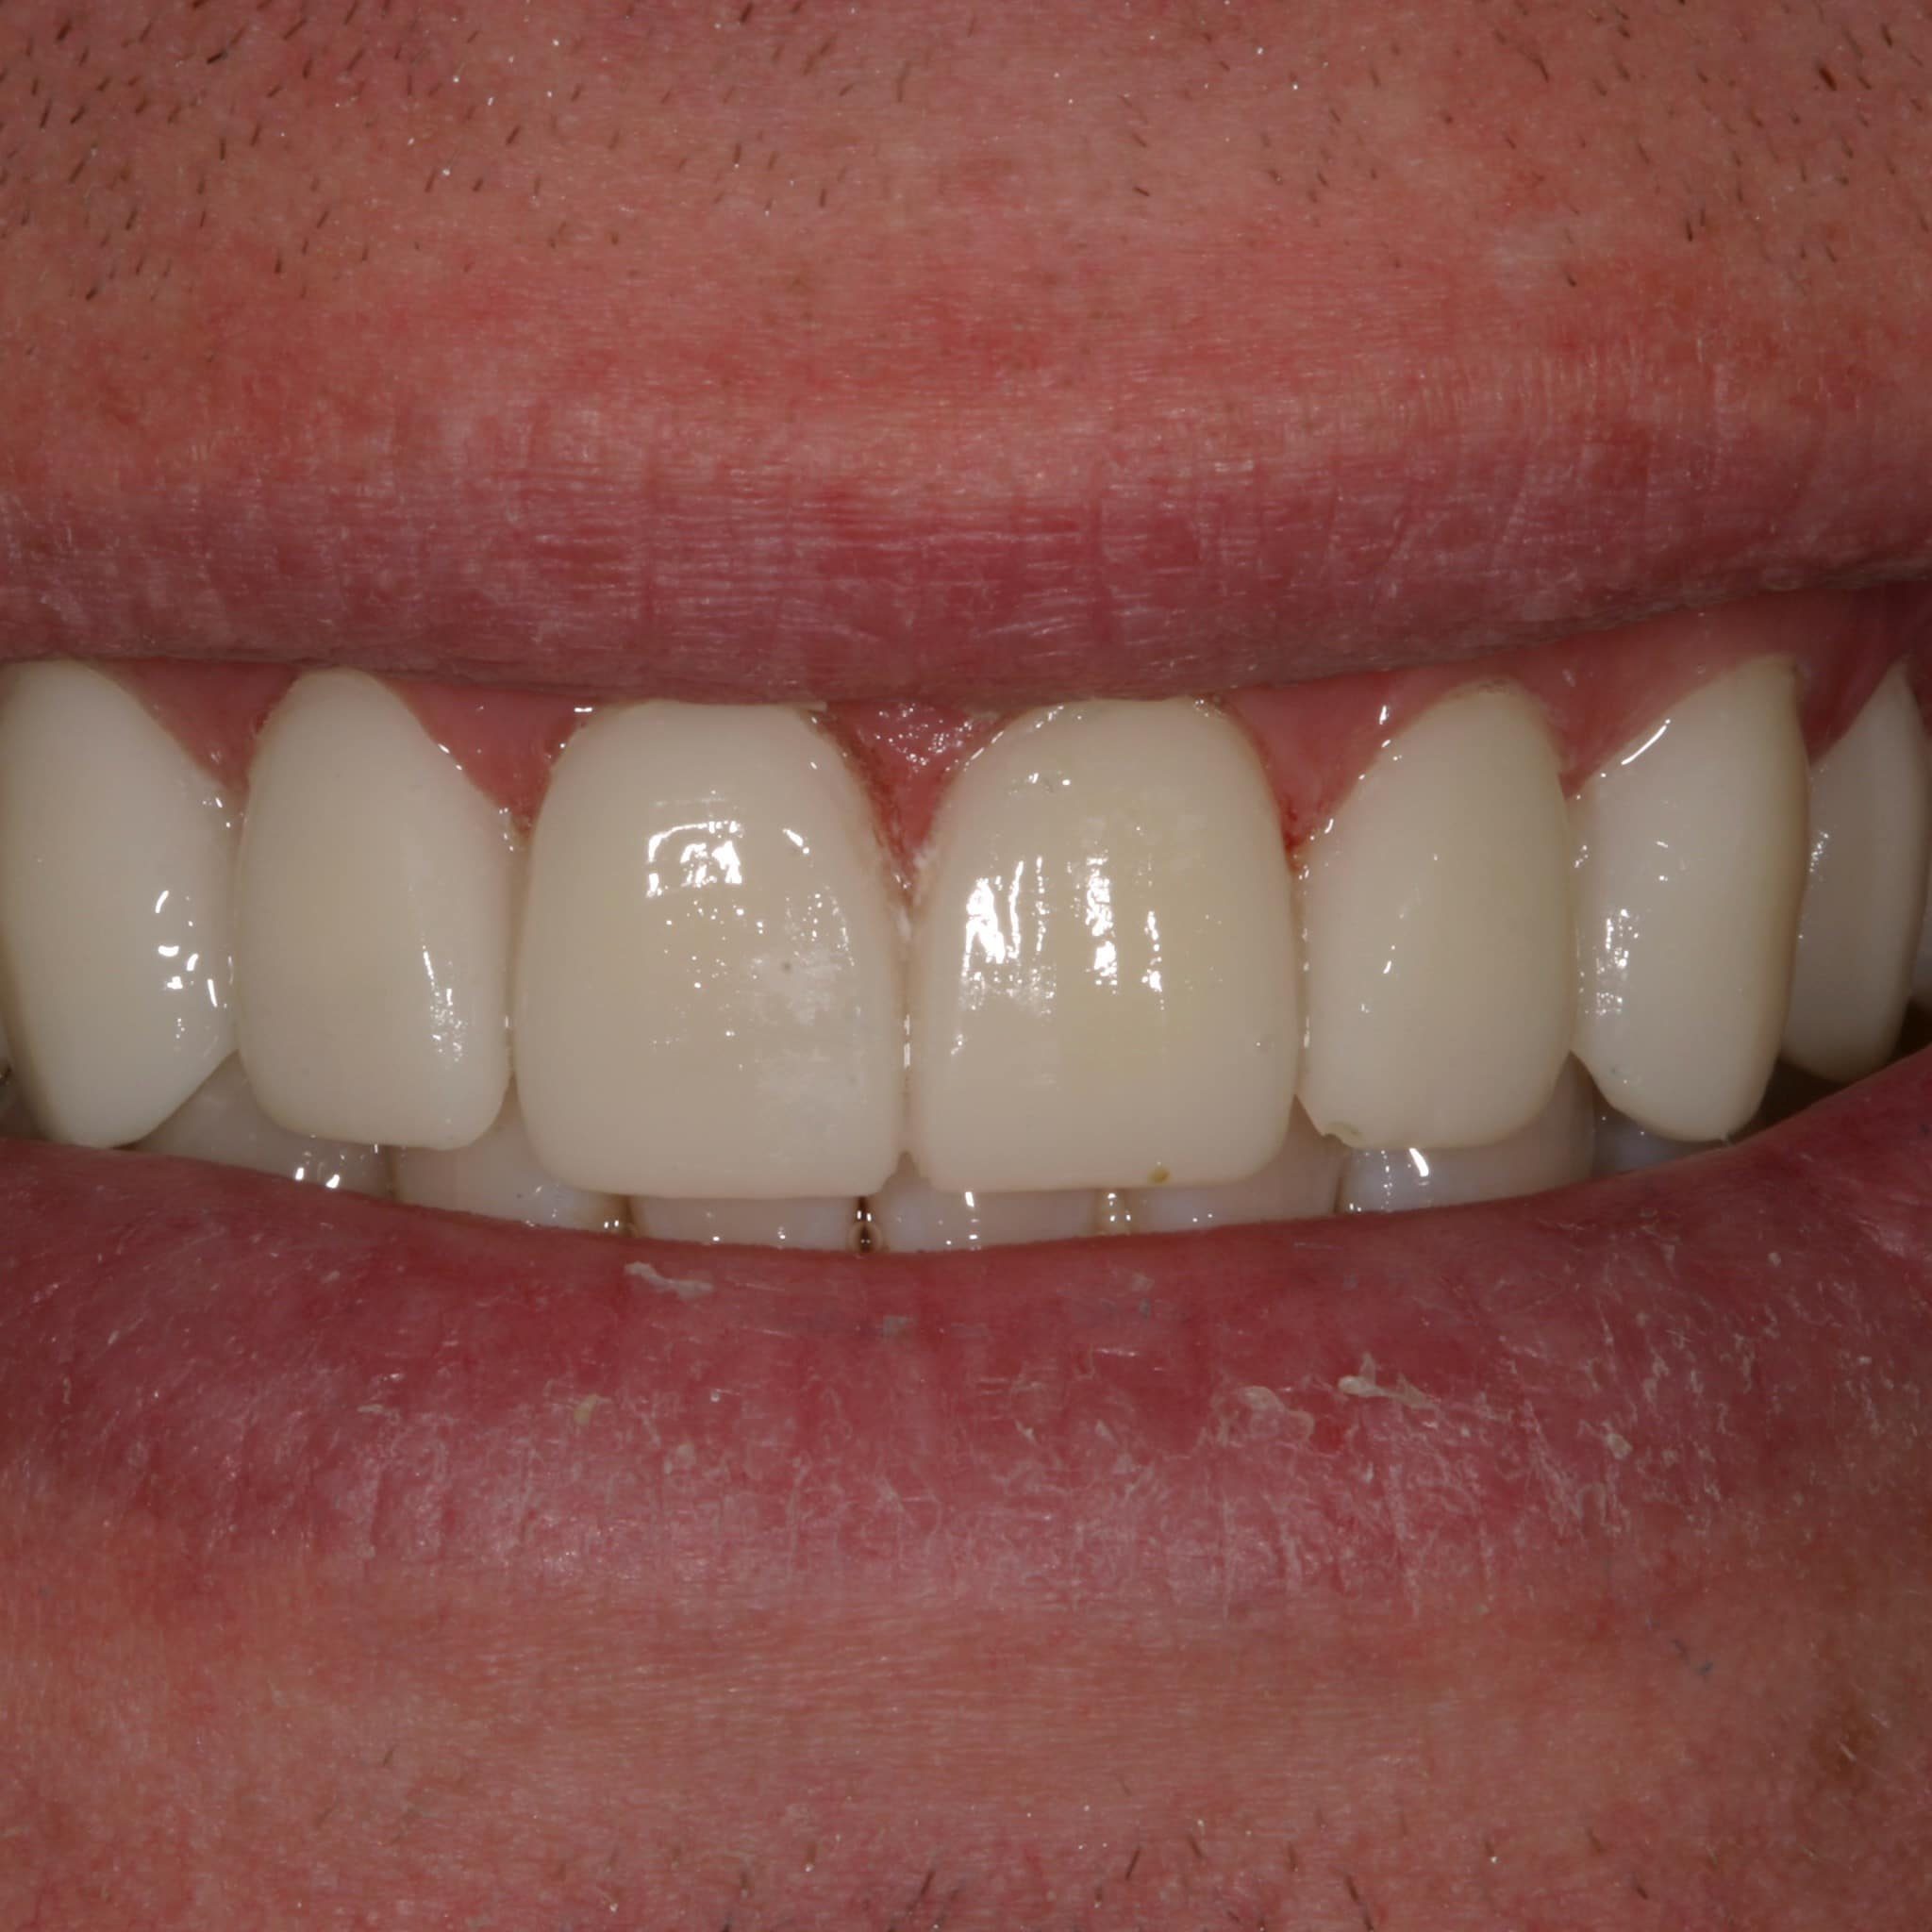
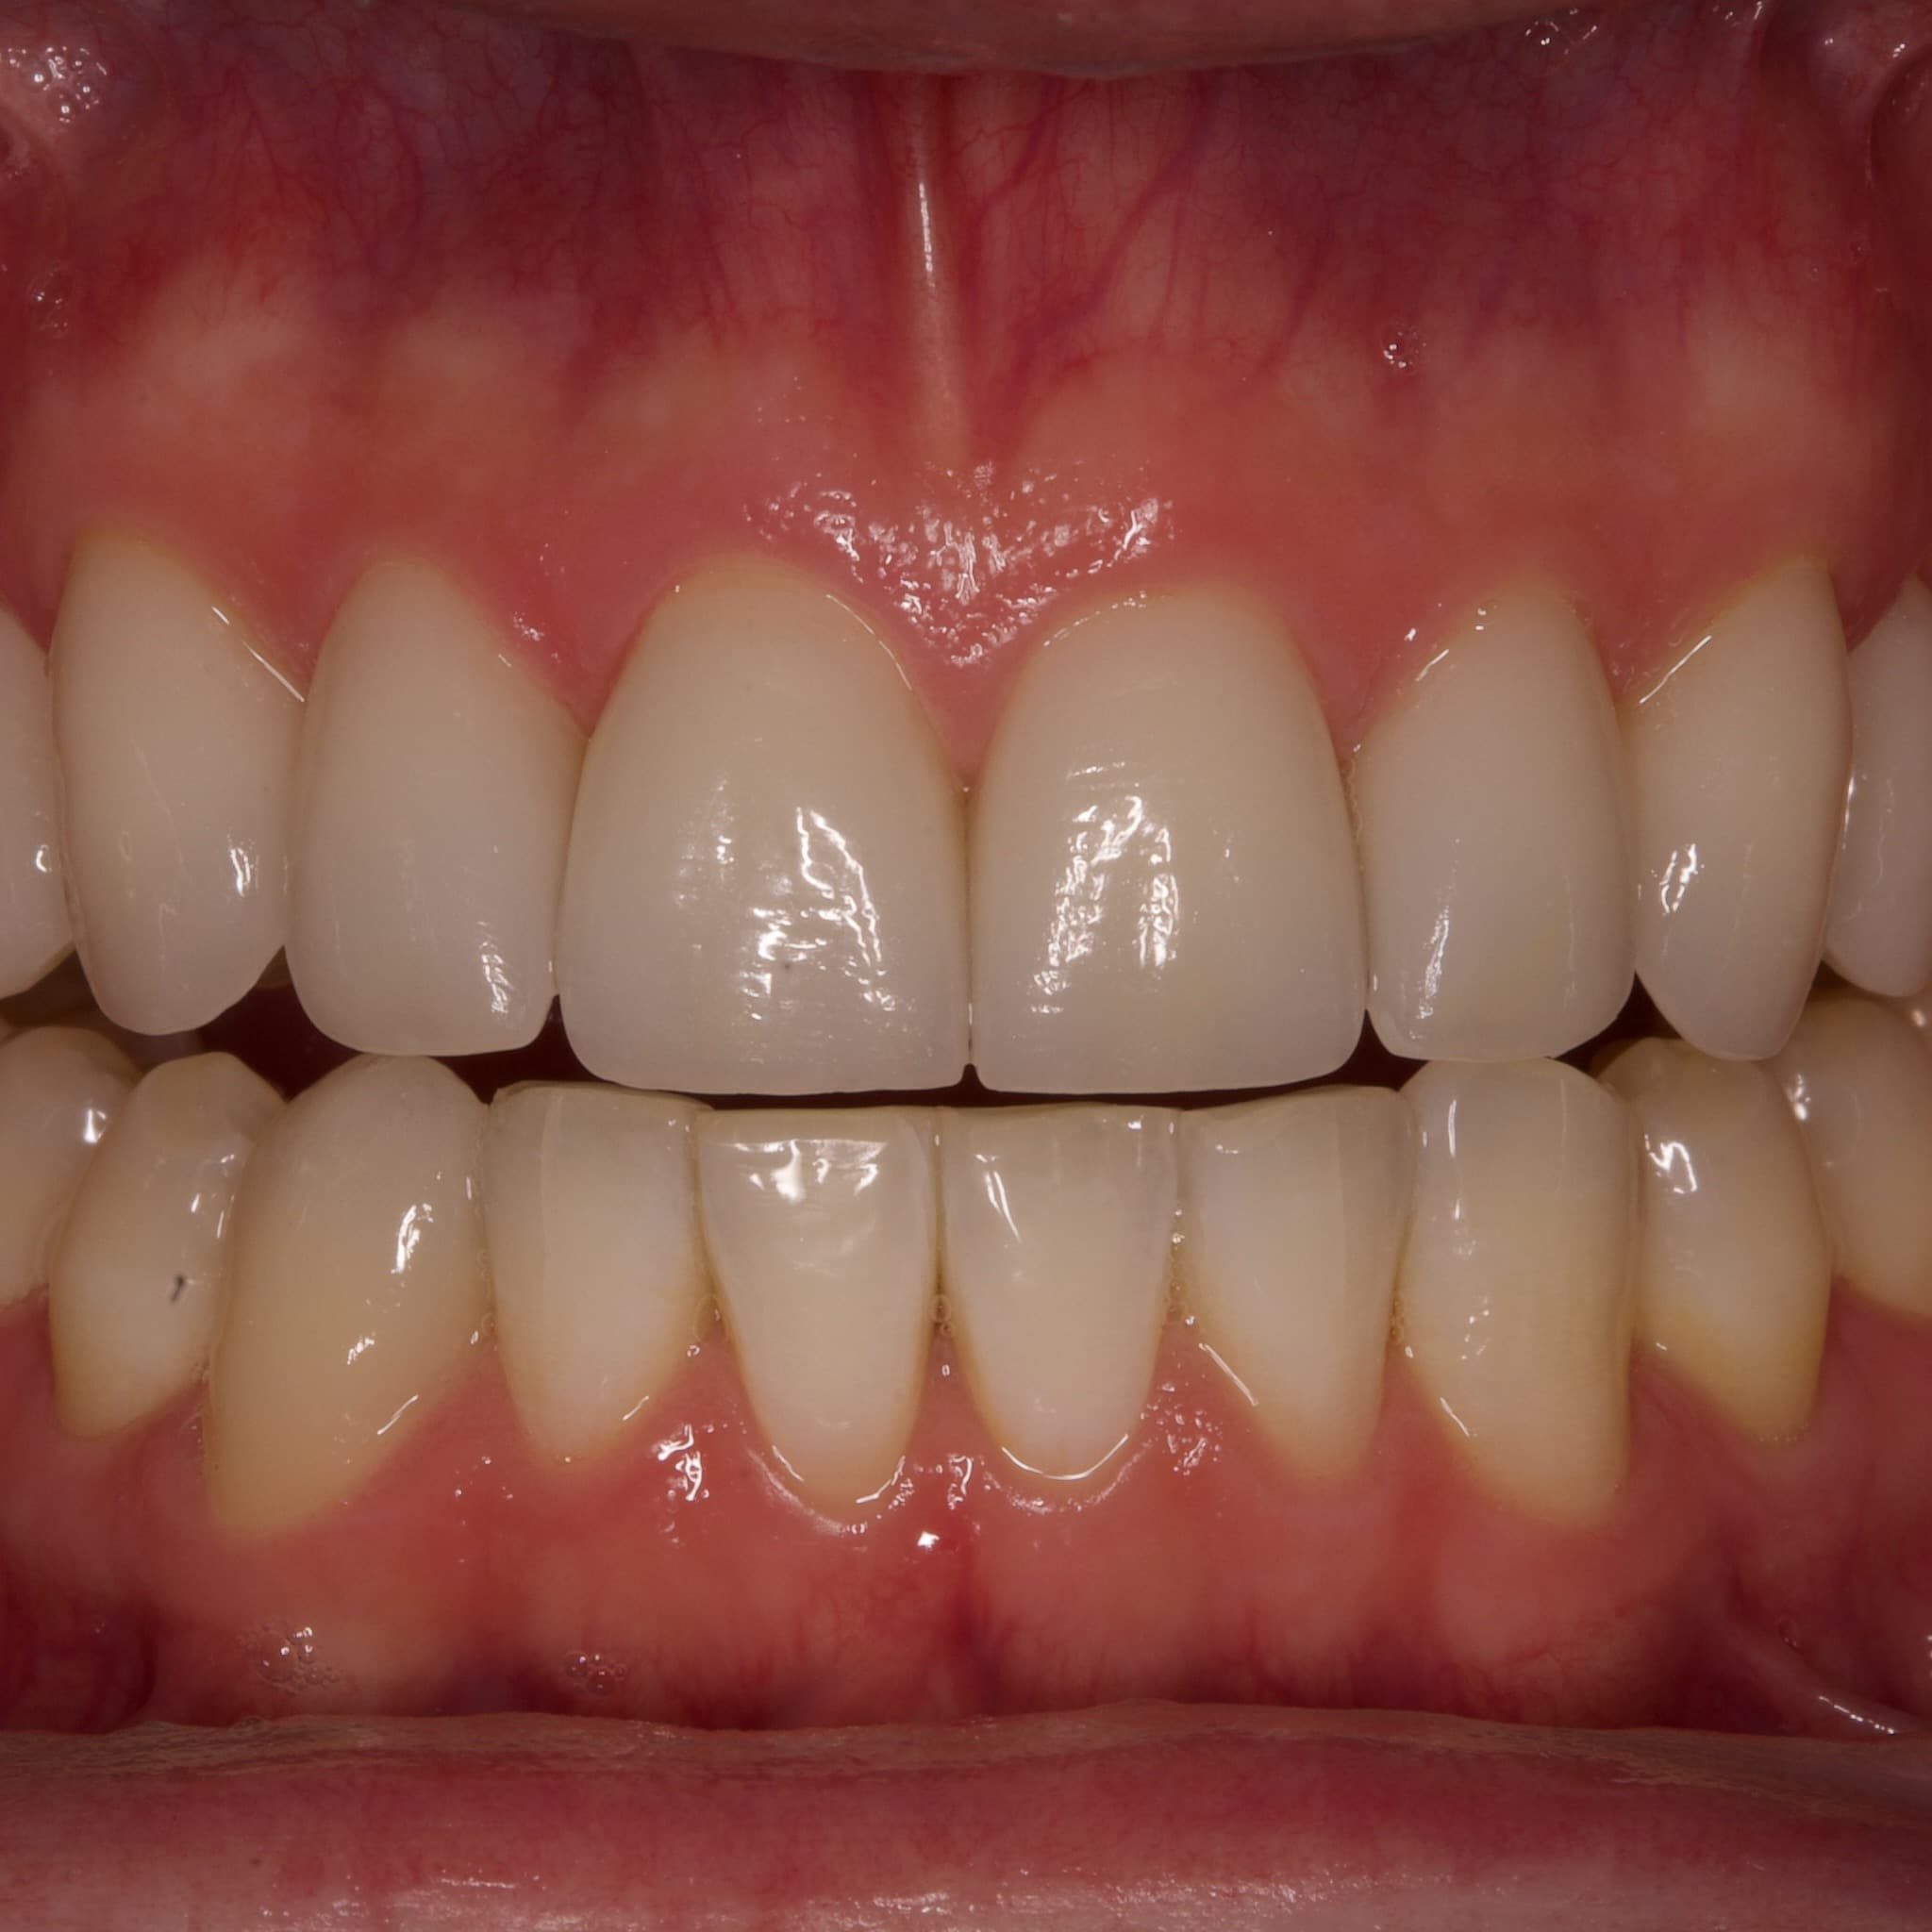
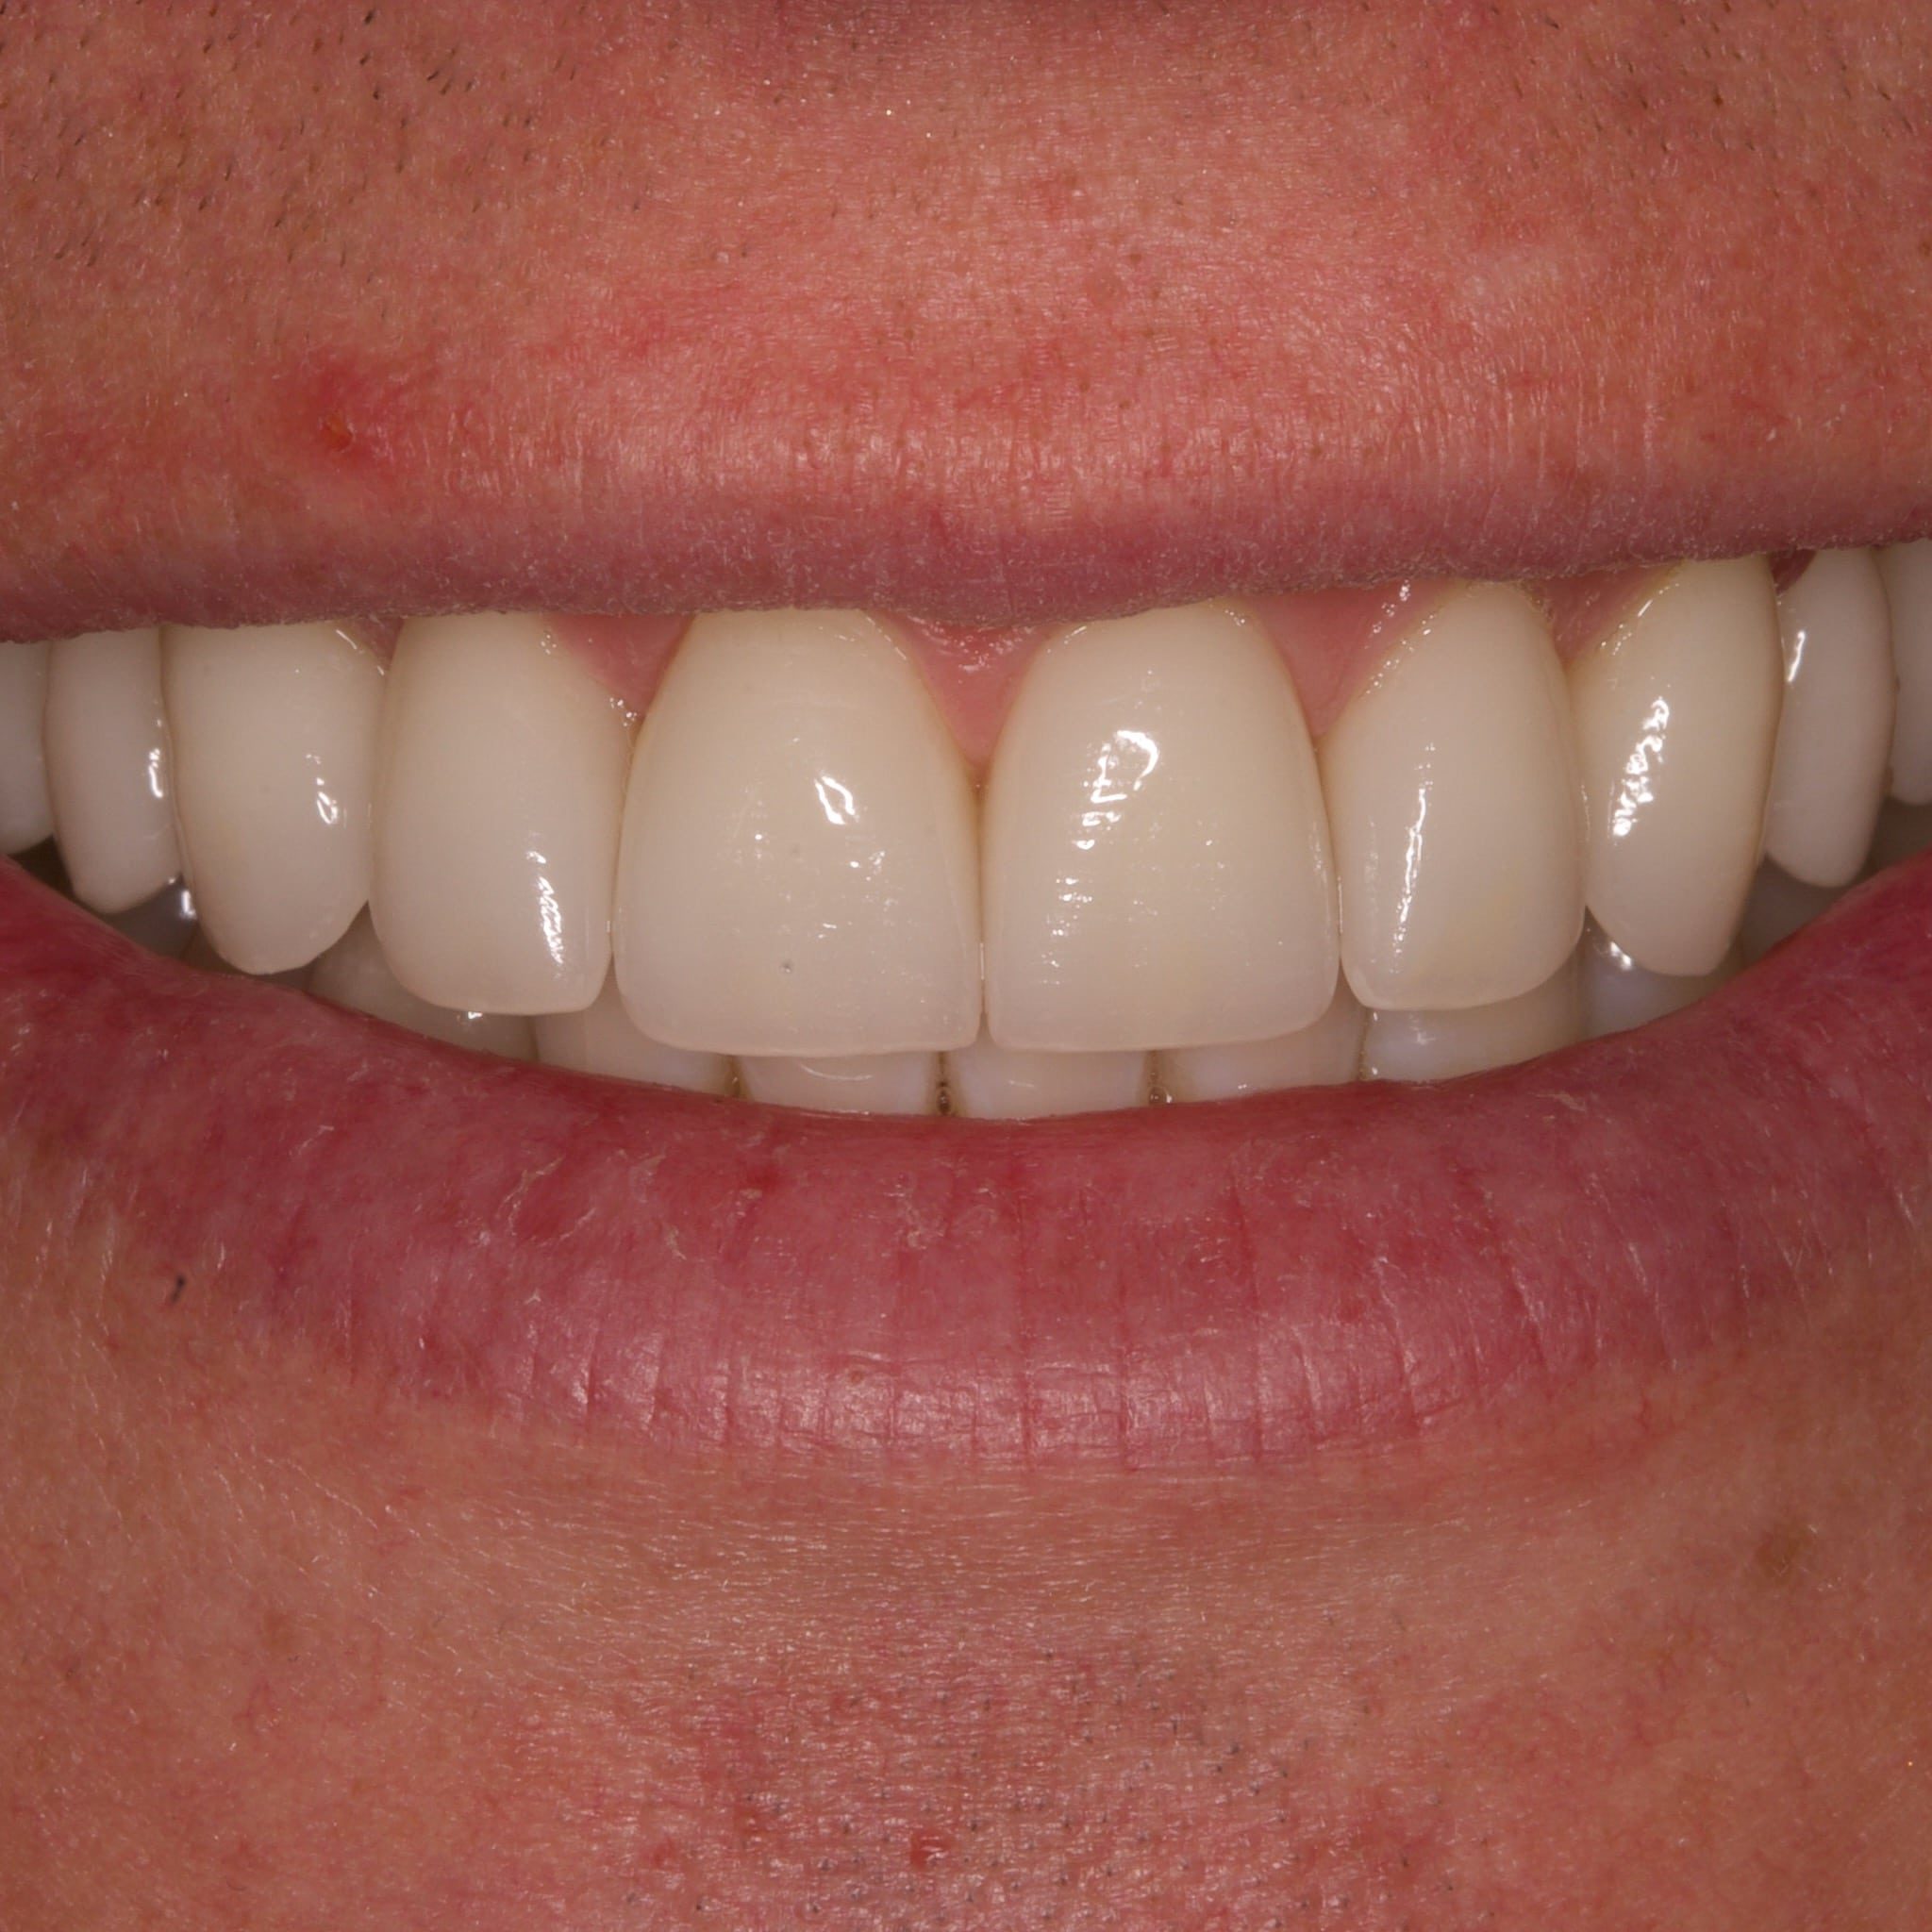
Patient presented to our office with concerns with the overall staining of his natural teeth and the constant chipping of the bondings on the two from teeth. Those bondings have been placed numerous times by other dentists. Upon his full exam it was noted that the ongoing chipping is due to the fact that the upper and lower teeth were not functioning in harmony. The patient expressed a desire to have a more natural beautiful smile. After doing a full set of diagnostic images and scans, the case was planned. The treatment plan for this patient was to provide 10 ceramic restorations on his upper teeth and one ceramic restoration on his lower right canine tooth. We started a case by taking care of the lower right canine tooth to completion. Upon being done with that lower right canine we could now design all of the upper teeth in a way that would allow his upper and lower teeth to now be in harmony. The upper 10 teeth were prepared to accept 10 new restorations. Temporary restorations were provided on the day of preparation which would allow the patient to test drive both the cosmetic and functional aspects. Once the temporary restorations were approved, the case was scanned and final restorations were designed and delivered. The patient desire to smile which would be defined as useful and bright yet still masculine. He wanted to have a smile that would still be within the bleach shades but not a shade that would look artificial. All 10 restorations were placed and the bite was adjusted to be in perfect harmony while chewing and speaking. Overall when designing the case the ultimate goal is to provide a balance between the middle and lower thirds of the face. The smile design exceeded this patient's expectations and for the first time in many years provided the harmony between the upper and lower teeth.
